1. Download the latest version of USB Analyzer ActiveX Control at:
/download/usb-analyzer-activex
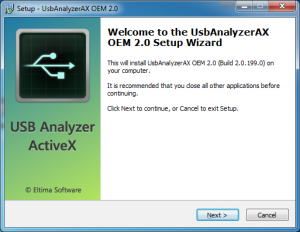
2. Double-click usbanalyzer_activex_oem.exe to start the installation process.
Click “Next” to continue the installation process:
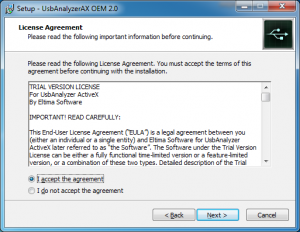
3. Read the License Agreement carefully. If you agree with all License terms, click “I accept the agreement” radio button and click “Next” button to continue:
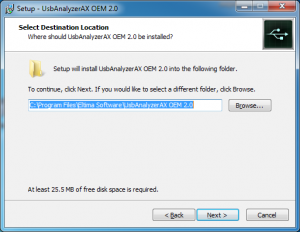
4. Select the destination path and then click “Next” button to continue:
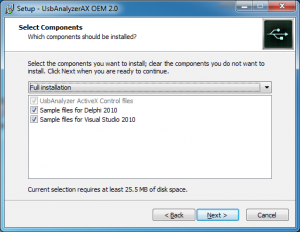
5. Select components which should be installed and then click “Next” button to continue:
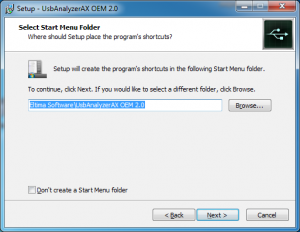
6. Choose the folder where the program’s shortcuts will be created, and click “Next” button to continue:
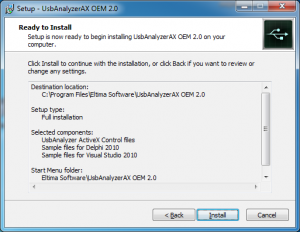
7. Now when all the settings are customized, click “Install” button to proceed with the installation process:
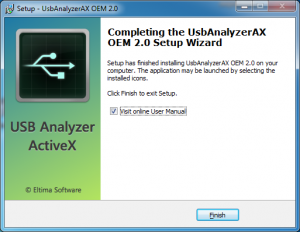
8. Once the installation is over, click “Finish” button:
9. Finally, to open a sample, navigate to the Start Menu and locate it in Programs submenu (Start Menu\Programs\Eltima Software by default).
