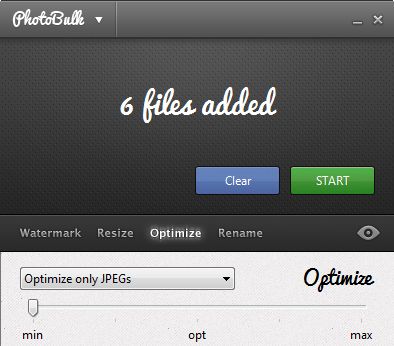
1. Drag and drop files to PhotoBulk – one by one or in a batch.
2. Use PhotoBulk tools to process your images:
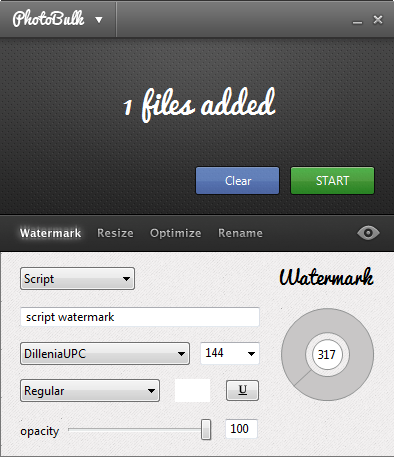
Read in detail here:
3. Preview images before applying any changes:
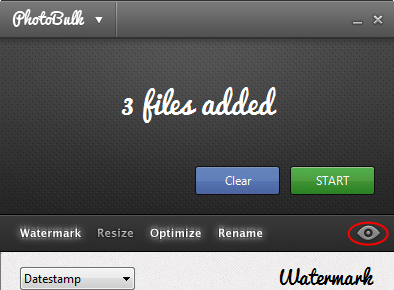
4. Click “Start“.
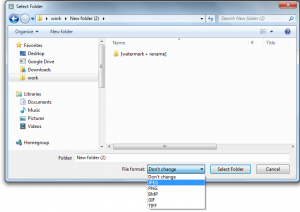
5. Choose the path to save your images.
6. Set conversion settings, if needed:
7. Once files are successfully saved, you can easily browse to them:
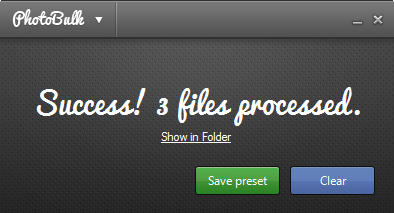
8. You can now save changes to the current preset to be able to apply it in future.
Read more about work with presets here:
/wiki/user-guides/photobulk-windows/presets.html
