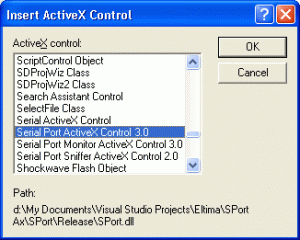
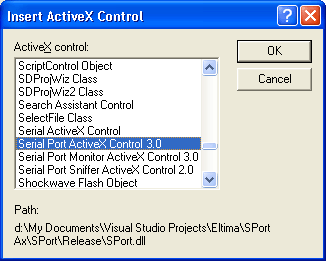
To install Serial Port ActiveX Control into Visual Studio, right-click the form and select “Insert ActiveX Control” menu item. Choose “Serial Port ActiveX Control” and click “OK” button.
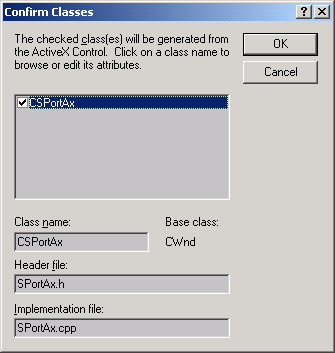
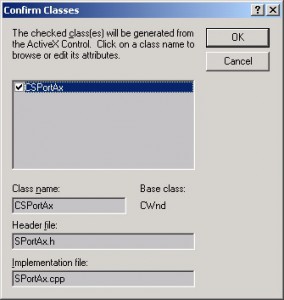
To get access to all the properties and methods of Serial Port ActiveX Control, go to “Member Variables” tab in “MFC ClassWizard“. Add a variable for the Control’s ID using “Add variable…” option. The following message will pop up:

Click “OK” button to continue. The following dialog will be invoked:
Now the class wrapper will be automatically created for ActiveX Control, and you will get access to its methods and properties.
Notice: If ActiveX control issues “Wrong license” error message each time you access it, then to fix this problem, please, remove ActiveX Control and place it again on the form.


