To make proxy and security settings available, please, activate Advanced mode by clicking the corresponding toolbar button. Then switch to “Proxy/Security” tab.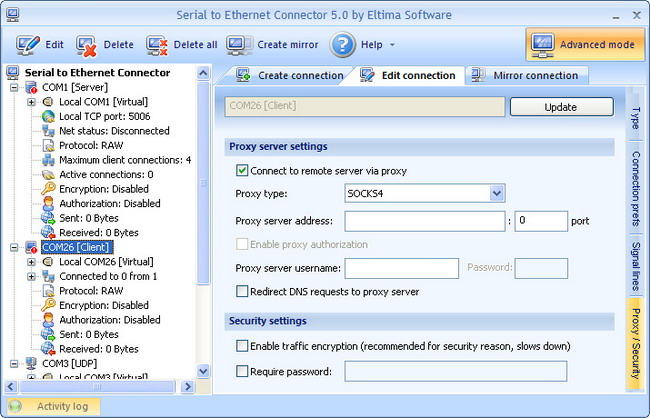
Tick “Connect to remote host server via proxy” checkbox, choose proxy type you use (SOCKS4, SOCKS5, HTTPS) and enter proxy server address and port.
If you want to enable proxy authorization (available when you use SOCKS5 or HTTPS proxies), just tick the corresponding checkbox and enter proxy server username and password.
Besides, you can tick “Redirect DNS requests to proxy server” checkbox if you want “DNS name to IP address” conversion to be done by proxy. If not, the local DNS will be used.
Note, that these three options are available in “client” connection only.
You can enable traffic encryption in “Security settings”. It is recommended for security reasons – all sent data will be encrypted, although it slows down the communication speed. Besides, you can enable password authorization while sharing a serial port for incoming connections. Note, that remote client should enter the same password in order to establish connection.
Note: Currently proxy/security settings are not available if you are creating UDP connection.