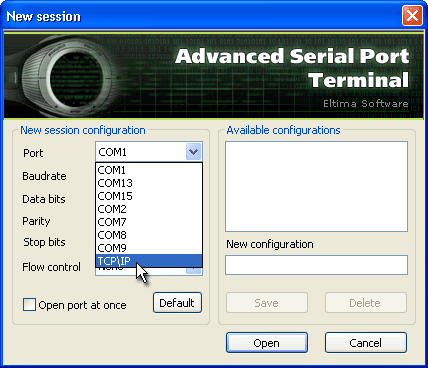
Here is a step-by-step guide how to get on board with Advanced Serial Port Terminal as quickly as possible, leaving alone any customization settings.
1. Once you have launched the application, create a new serial port connection. Select “File” –> “New session” menu option to invoke “New session” dialog window.
…or just click “New session” toolbar button:

… or simply press “Alt” + “N” key combination.
2. In the invoked “New session” dialog window specify necessary connection settings such as serial port number, baudrate, parity, stop bits, etc. They must match connection settings of the remote serial port.

3. Click “Open” button to create a new session.
4. Once the connection is created, open the serial port by doing one of the following:
- Select “File” –> “Open port” from main menu;
- Click “Open port” toolbar button:

- or press “Alt” + “O” key combination.
Please note that you must have at least one free (not occupied by other programs) serial port to be able to open it.
5. Once the communication port is successfully opened, you can send any data including text or binary files, text/binary/octal/decimal/hexadecimal blocks of data, examine serial port response, etc.
Type any command you want to execute in Send panel and click “Send” button.
Please note that you won’t be able to view sent data unless you enable “Echo” option.